How to (Properly) Save Images for the Web
Saving images for the web can be a confusing topic, so here we present our philosophy for saving images for use on the web. When you break it down it comes down to three simple steps.
1) Pick the right format
2) Pick the proper pixel dimensions
3) Use a lossless optimizer
1. Picking the right format
The three main formats you find on the web are GIF, PNG, and JPEG. There are more formats out there, but these three offer the best browser support and will cover almost every situation. Picking the right format for your images is simple when you follow these rules:
- Images with a lot of details and colors, like photographs, should always be saved as .jpeg
- Simple images, such as logos or icons, should be saved as .png
- If your image has transparency, use .png
- If you are trying to show animation, use .gif

2. Sizing your image.
I have found the only thing that matters when it comes to sizing images for display on the web is the pixel dimensions, not dpi or ppi or any pixel density measurements. Try to figure out the maximum pixel width that your image will be displayed at, and export/save your image to that size. If you are thinking about retina displays, save your image at twice the pixel dimensions that it will be displayed at.
For example, this blog post lives inside of a column that has a max width of 600px. If I want to display an image inside this column, the biggest it could possibly be is 600px, so I will save my image as a 600px wide JPEG. If I am going to support retina graphics, I would save another JPEG, only this time it would be 1200px wide.

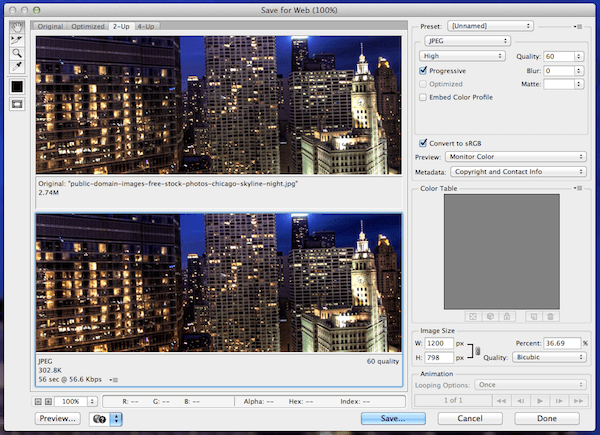
If you are using Photoshop’s save for web feature, make sure you select the progressive checkbox (because it is way better for jpegs), and play with the quality setting, I find “high” to be a good quality without a huge file size.
3. Using a lossless optimizer.
After your image is properly sized, the final step is to optimize it. The simplest way to do it is to use an awesome open source program for Mac OSX called ImageOptim.

If you are using a PC there are a few websites out there that will optimize and compress such as https://imagecompressor.com/. What these tools do is strip out metadata, convert your .jpeg to progressive .jpegs (read more about the technique here), and compress the image. Which is a confusing way to say making the file size small without sacrificing any image quality for the viewers.
Proof Pudding
Let’s try out the proposed workflow for a super high res image, found on the amazing Public Domain Archive.
Original Image: 3271px by 2176px, 5.2MB
Saved For Web, (High Quality, 1200px wide): 108KB
Optimized with ImageOptim: 104KB
We end up with a file over 50 times smaller than original, and 4 times small than a simple resize.
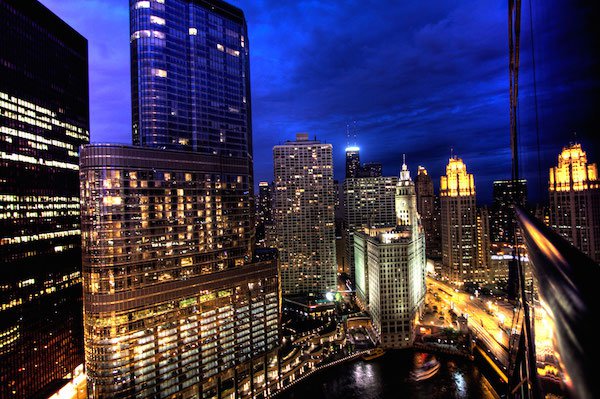
Final output:
This is just the tip of the iceberg.
If you are into this kind of thing, you should continue to research this topic. There are more formats coming, such as WebP, and many people are already taking advantage of the resolution independence of SVGs. Icon fonts are still super awesome, image sprites can still be your friend too. Someday soon we are going to have responsive images, which will make figuring out how to size images for different displays easy (or hard, depending on who you ask). If you have a lot of images that you are trying to optimize, I highly recommend learning about imagemagik, grunt, and building an automatic image minification pipleline (this topic deserves it’s own blog post).
Please share any tips you have for your image workflow in the comments.
Back To All Posts?